Nothing sparks children’s excitement like engaging in science experiments, especially when conducted with everyday household items. Explore this captivating collection of DIY science experiments that students will adore, providing you with an enjoyable opportunity to explain the science behind each one. Cheers to sparking their curiosity and having a blast in the process.
However, it’s essential to remember that some experiments may involve materials or processes that require careful supervision. P.S. Parental discretion is advised. Always prioritize safety and ensure appropriate guidance when conducting hands-on activities with your little ones.
Table of Contents
1. Soda Volcano
This is one quintessential DIY experiment that children would have heard of. It is time now to try it and understand the science behind it.
Ingredients:
Here’s what children will need:
- A large bottle of Coke
- Packet of Mentos
- An open space
What to Do:
All the child needs to do is drop a few Mentos into a Coke bottle. It is important that this experiment be conducted outside, and the child should stand back to observe the results.
What will happen:
The child will witness an impressive fizz resembling a soda fountain and be captivated by the spectacle. Equally important is your role in explaining the science behind it. While it’s commonly believed that a chemical reaction between Mentos and Coke triggers the fizz, that’s not the case. Instead, it’s the carbon dioxide in the drink attempting to escape, forming bubbles around the irregular surface of the Mentos. These irregular sites act as nucleation sites. Essentially, Mentos catalyzes the release of carbon dioxide gas, resulting in a physical reaction rather than a chemical one.
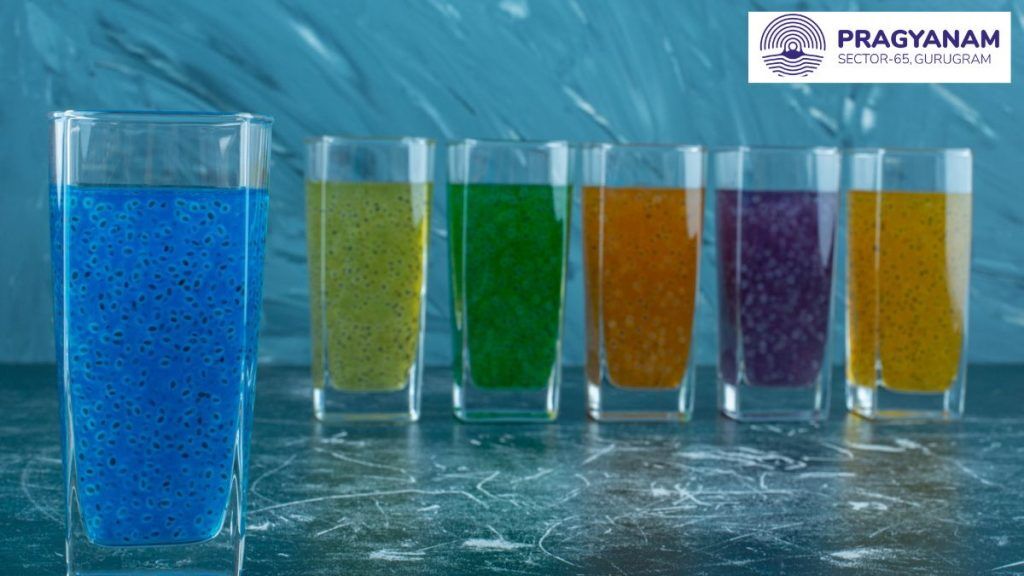
2. Rainbow in a Glass
Now, this one uses the concept of density and creates a delightful spectacle.
Ingredients:
Here is what is required:
- Five glasses
- Sugar
- Water
- Food coloring
- Tablespoon
What to do:
Arrange the glasses in a line. In the first four glasses, pour water. Then, add one tablespoon of sugar to the first glass, two to the second, three to the third, and four to the fourth. Stir each glass thoroughly to ensure the sugar dissolves. Now, add different food coloring to each glass. For the fifth glass, pour one-fourth of the contents from the fourth glass, then gently pour some of the contents from the third glass to create distinct layers. Repeat this process with the second and first glasses, pouring slowly. There you have it – a rainbow glass ready for exploration!
What is happening:
By adding varying amounts of sugar to each glass, you’ve effectively created solutions with different densities. As you layer them, the heaviest sits at the bottom, followed by the lighter ones, creating distinct layers. In fact, the greater the difference in density, the longer these layers will remain before blending together. This experiment serves as a practical illustration, ensuring that the concept of density transcends theoretical definitions.
3. Self-Inflating Balloon
This will seem almost magical as you use the power of yeast to blow up a balloon.
Ingredients:
- An empathy bottle of a fizzy drink
- A balloon
- A measuring jug
- Sugar
- Water
- Some yeast
What to Do:
Add a cup of water to the bottle and add two teaspoons of yeast and one teaspoon of sugar. Now, put the balloon on top of the bottle.
What will happen:
Watching the balloon inflate is truly magical. Here’s the science behind it: The sugar molecules serve as a food source for yeast cells. As the yeast ferments the sugar molecules, carbon dioxide gas is released, filling up the balloon.
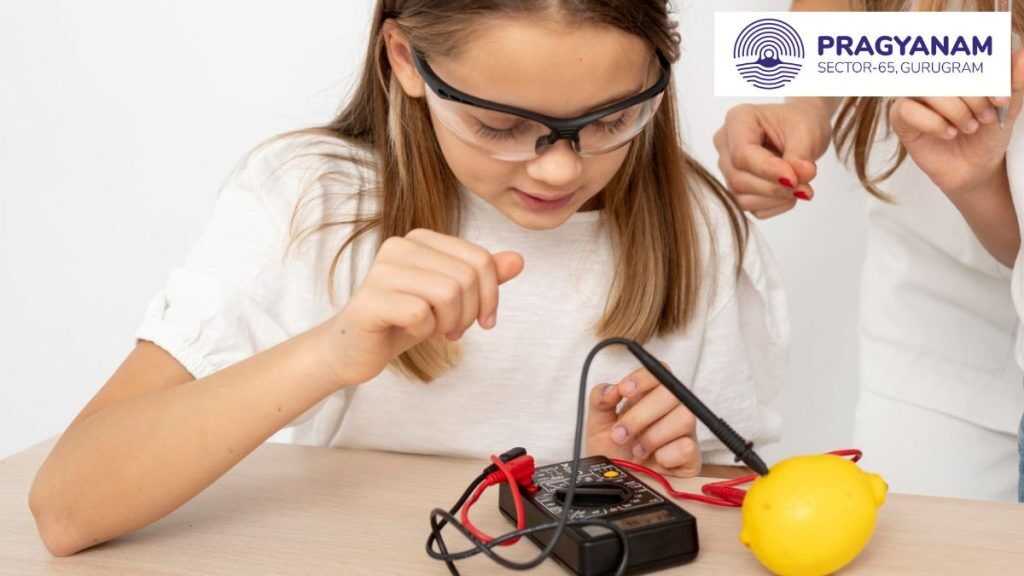
4. Fruit Batteries
Now this experiment where children can make electricity from fruits will fascinate them to no end!
Ingredients:
- Four pieces of citrus fruit
- Four nails. Ensure that these are galvanized or, in other words, that they are covered by a zinc coating.
- Four copper coins
- 1 LED bulb
- Clips
- A voltmeter
What to do:
In the four citrus fruits, cut out small slots. Now insert a coin in each slot. Also, insert a nail in each fruit. What you need to do next is to connect the four fruits in a circuit. For that, you need to attach the end of one clip to a nail and the other end to a coin on a different fruit. Once you have done it, attach the unconnected clips to the LED bulb. Voila! See the bulb light up!
What is happening:
What you have done is create positive cathodes through the nails and negative anodes through the copper coins. The juice inside the fruits acts as an electrolyte in this case. Once the circuit is completed, the bulb lights up.
To Sum Up
There you have it! These experiments are sure to spark the child’s curiosity and leave them wanting more. A couple of tips to keep in mind: ensure that children conduct the experiments safely, preferably under adult supervision. It’s also a great idea to encourage them to jot down their observations and results. Most importantly, if the experiment doesn’t go as planned, teach them that it’s okay to fail. Instilling this mindset early on will empower them to strive without undue worry about the outcomes. At Pragyanam, one of the top CBSE schools in Gurgaon, our focus is on igniting the curiosity of learners and fostering critical thinking. We emphasize teaching them how to think rather than what to think. This holds true for all age groups, from students seeking school admission and embarking on their academic journey to those in senior grades.
Let’s collaborate in shaping a generation of lifelong learners!